 BackInTime
Old Photo Restoration: Manual, Digital, and AI
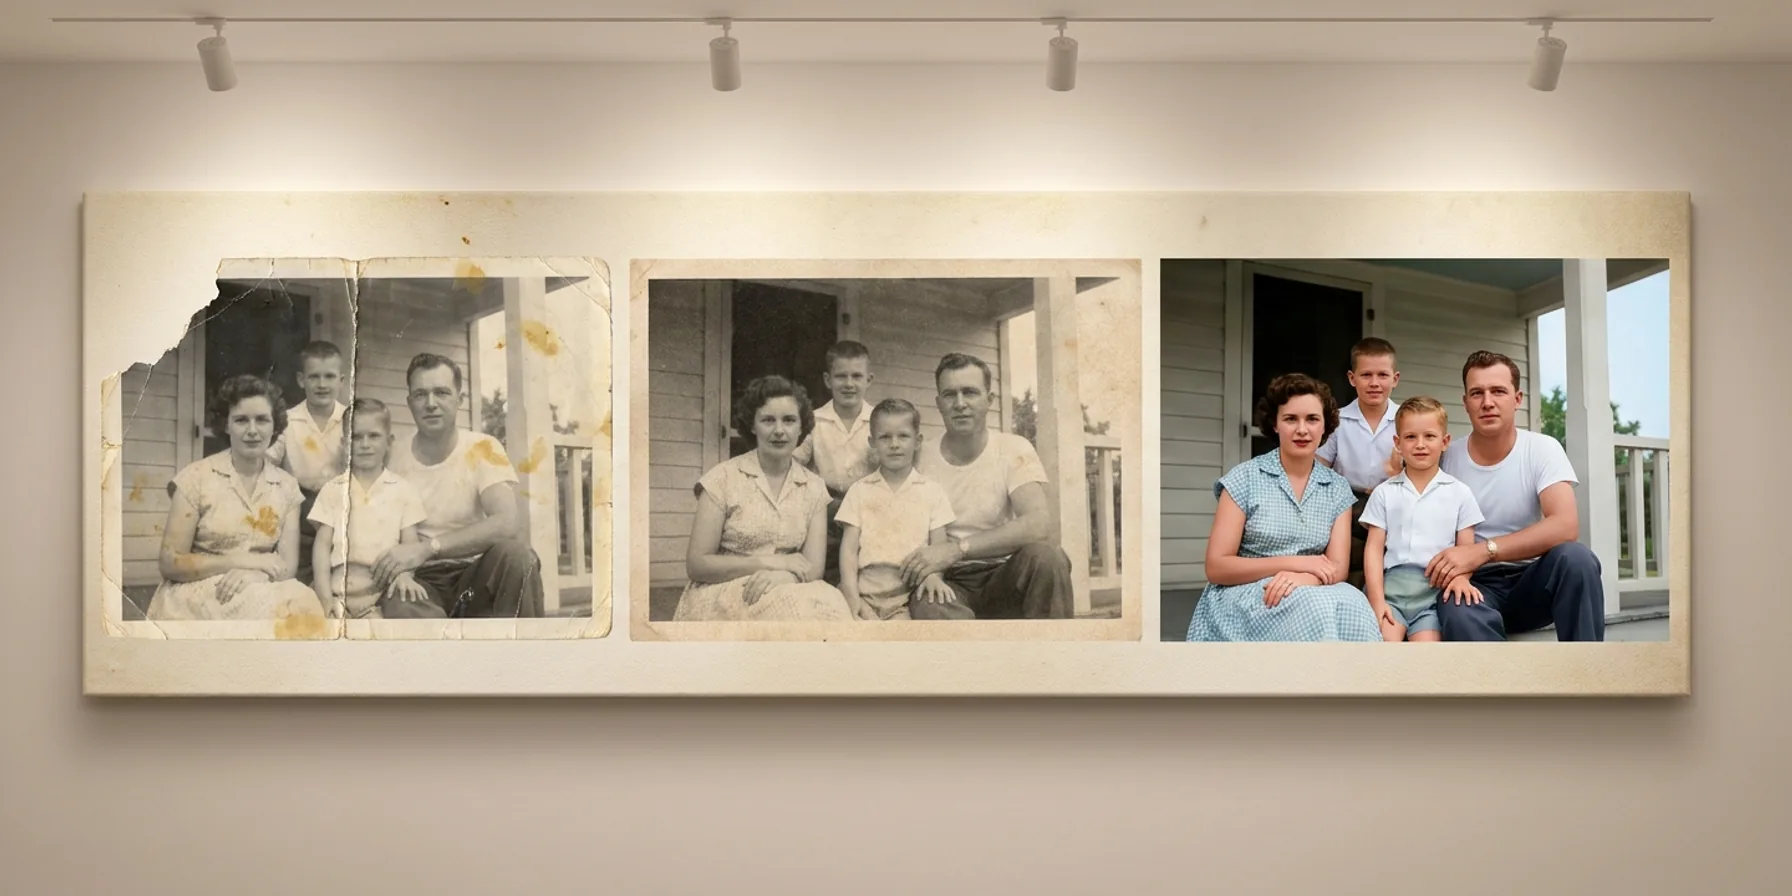
A torn corner, a yellow stain, or a crack across a face can make an old family photograph hard to see. There are several ways to work on that damage. A conservator treats the physical print. A digital retoucher edits a scan. Generative AI can predict detail that the photograph no longer shows.
These approaches can produce quite different results, even when the finished pictures look similar. Understanding the difference helps you decide what to preserve and what to change.
Caring for the physical print
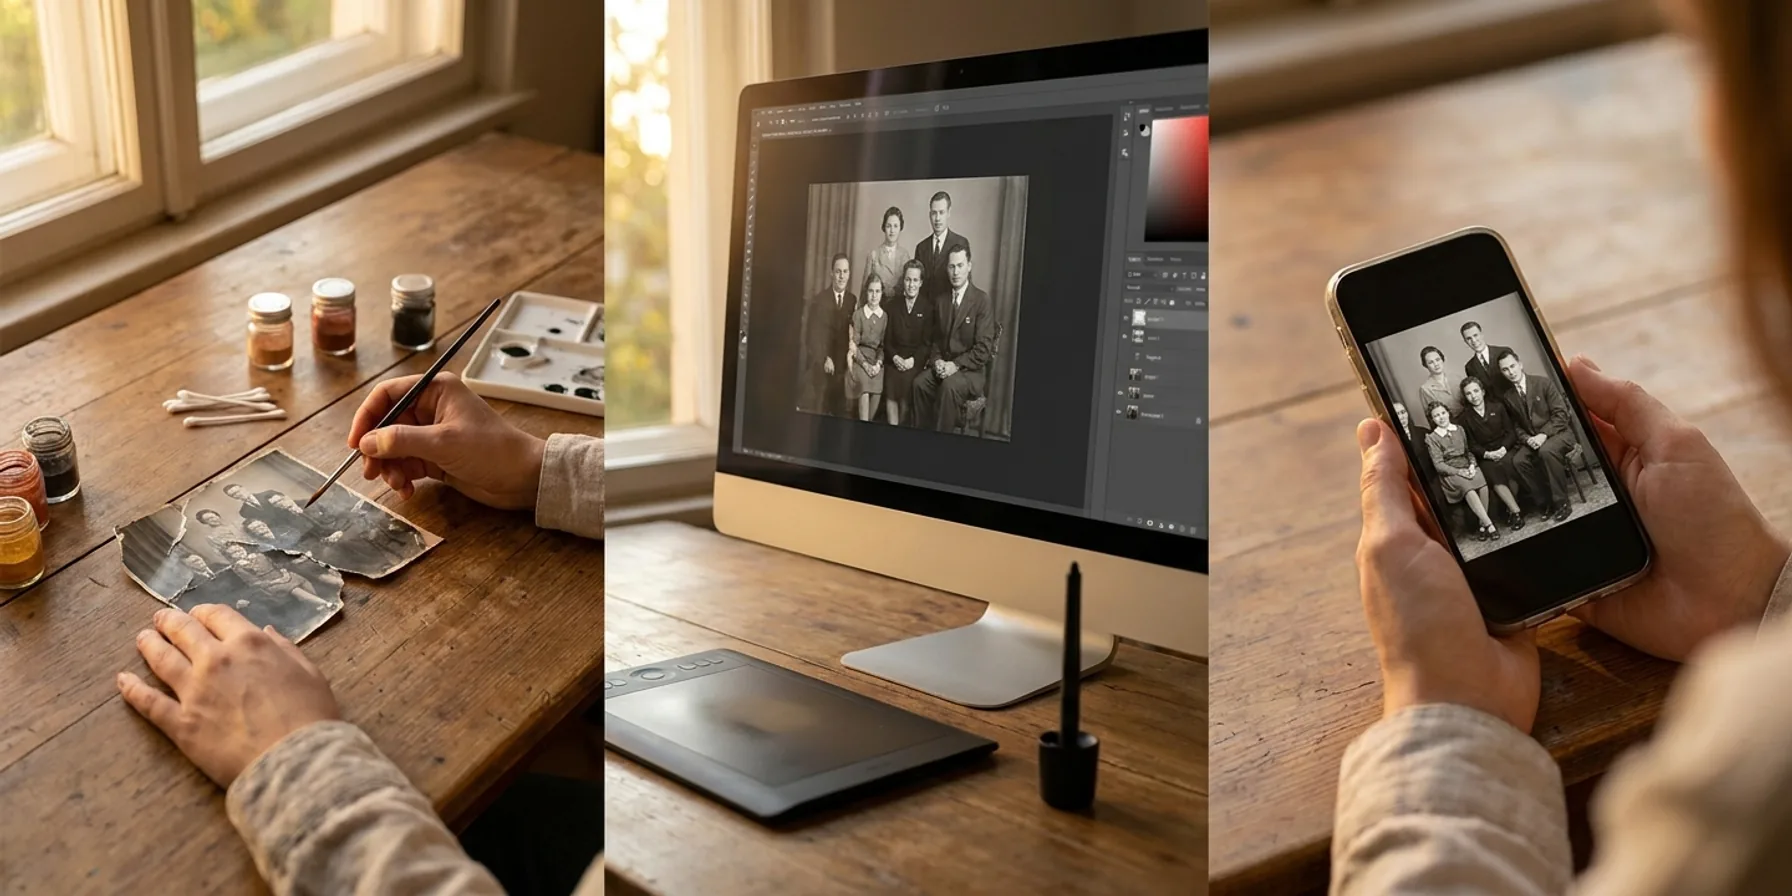
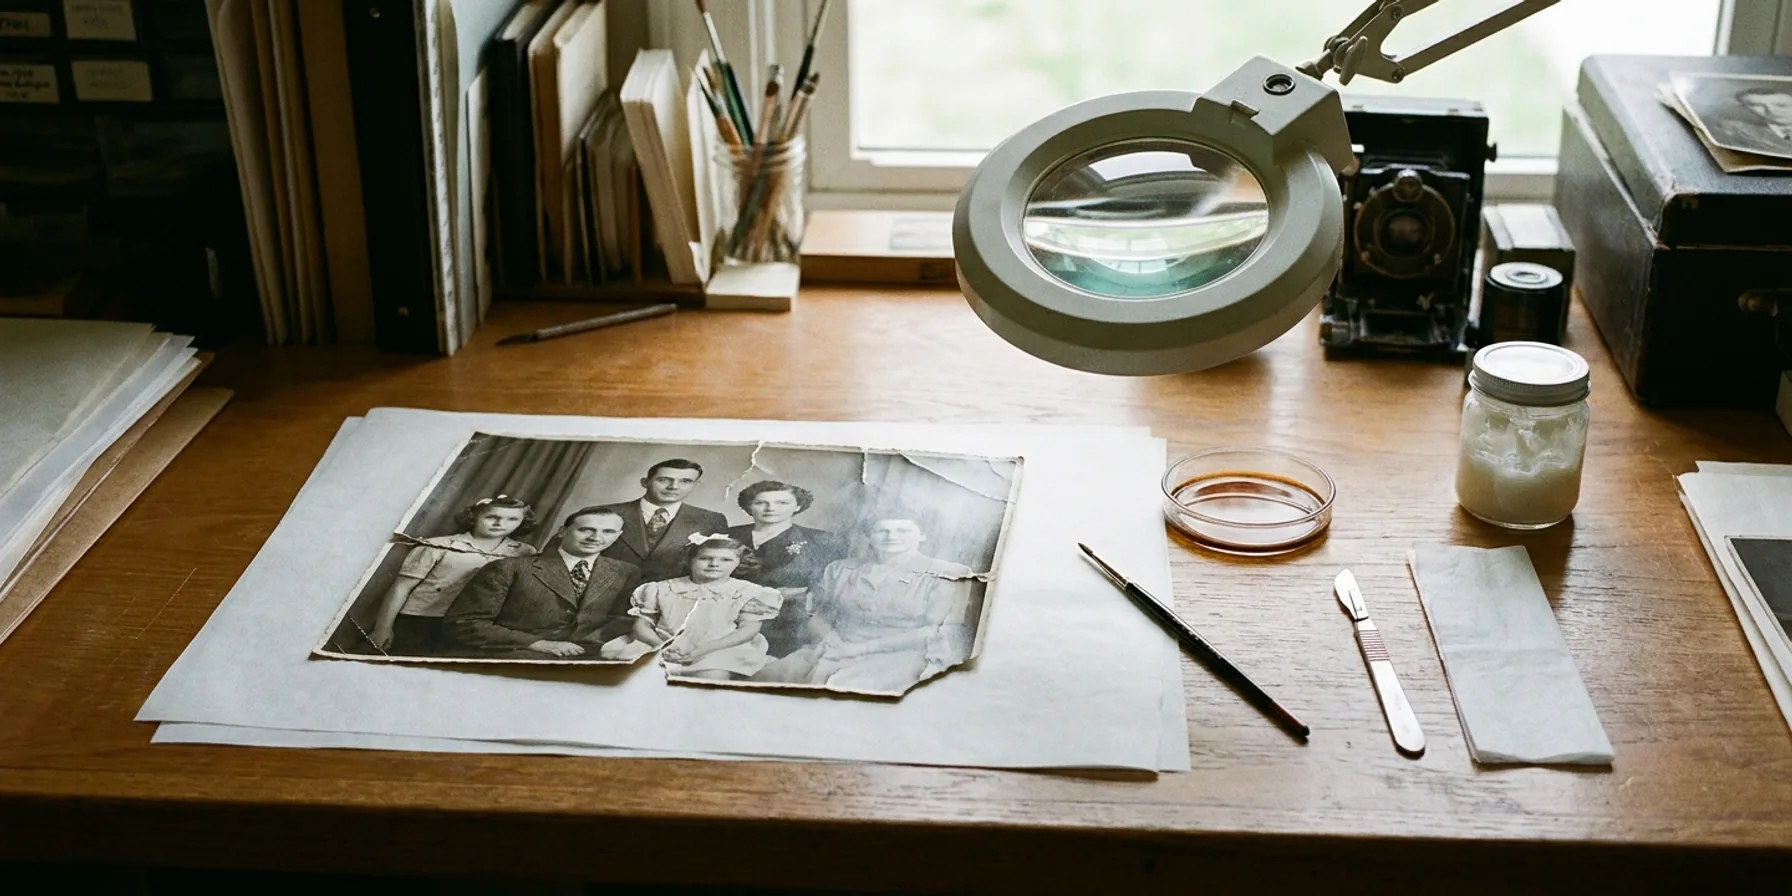
Photograph conservation starts with the object. Institutions such as the Image Permanence Institute and the Northeast Document Conservation Center work on preserving photographic materials.
A conservator may flatten a curled print, mend a tear, remove surface grime, or secure a flaking emulsion. Techniques include Japanese tissue and wheat-starch paste for repairs, and carefully selected sponges or solvent gels for cleaning. The choice depends on the photograph and its condition. Stabilising the print comes before retouching its appearance.
Where retouching is appropriate, materials are chosen to allow later removal wherever possible. Watercolours, graphite, and photographic retouching dyes can be applied in fine dots that blend at normal viewing distance. Spotone was a familiar retouching dye in the twentieth century; Gamblin Conservation Colors are another example of conservation materials.
Studios also worked on copy negatives made from damaged prints. A retoucher could paint on the copy without altering the original photograph.
Conservation and commercial portrait retouching had different purposes. Studio retouchers in the 1930s and 1940s slimmed jawlines, smoothed wrinkles, and rebuilt hairlines on negatives. Composite portraits date back at least to the 1860s. A conservator preserving a damaged print aims to retain the evidence that remains, which places limits on how much missing detail can be filled in.
Editing a digital copy
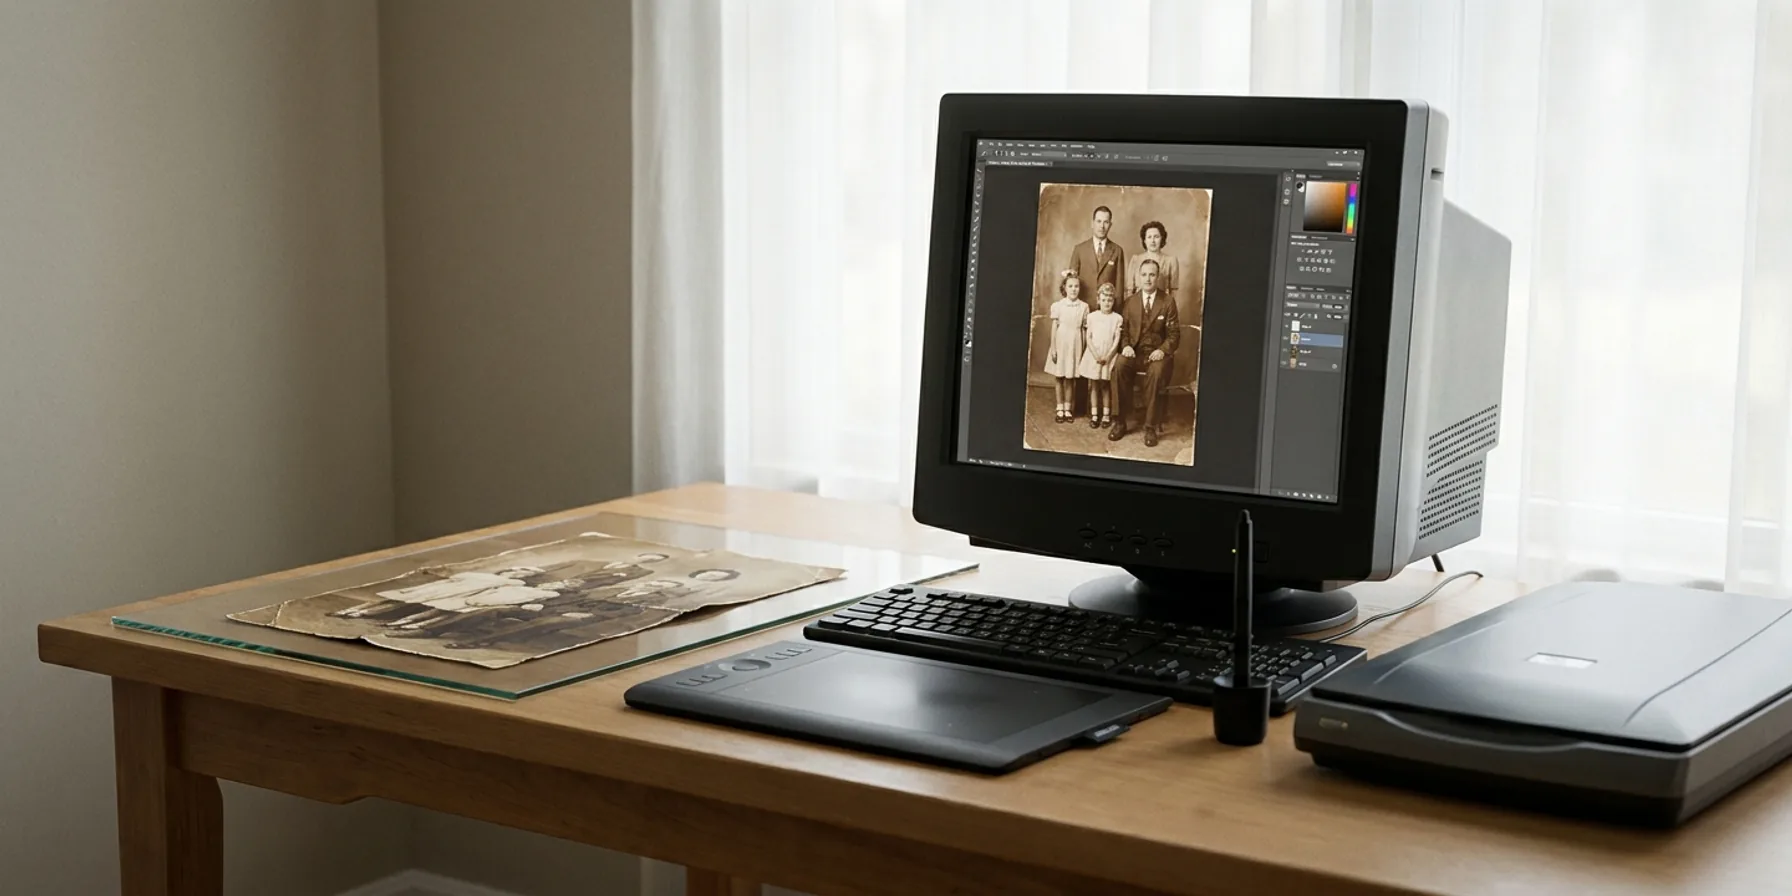
Photoshop, first released in February 1990, made it possible to repair a scan while leaving the physical print alone. Layers and masks let an editor separate changes and revise them later.
The Clone Stamp copies pixels from one part of an image to another. The Healing Brush, introduced in Photoshop 7 in 2002, blends copied texture with the tone of its new surroundings. An editor can also inspect colour channels separately. If one channel is much noisier than another, adjusting them individually may recover useful detail.
The work starts with identifying the problem. Is a mark in the emulsion or on the scanner glass? Does a stain affect one colour channel? Has contrast faded across the whole image or only in one area?
Frequency separation puts broad tones and fine texture on separate layers. That allows a retoucher to work on discolouration while keeping grain intact. A badly damaged portrait can still take an experienced editor much of a working day.
These tools have limits. Copying pixels from elsewhere in a photo does not establish what was in a missing area. If part of a face has disappeared, filling it in requires interpretation.
What generative AI adds
DeOldify, released as an open-source colourisation project in 2018, GFPGAN from Tencent ARC in 2021, and CodeFormer from S-Lab at Nanyang Technological University in 2022 are examples of models used for colourisation or face restoration. Neural filters also appear in consumer photo-editing apps.
These models use clues in the surviving image alongside patterns learned from other pictures. They can reduce noise, sharpen the appearance of small faces, and add colour to a black-and-white image. They can also generate plausible detail where the original provides very little.
That is useful, but the generated detail may be wrong. A dress coloured blue may have been red. Eyes, hairlines, jewellery, and insignia can change. Sometimes the mismatch is visible: a very smooth face on a blurry body, or a crack interpreted as a wrinkle.
CodeFormer describes a tradeoff between fidelity and visual quality. A result that looks clearer may depart further from the input. Compare it closely with the original, especially around the details that identify a person.
Keep a record of the changes
Each approach leaves a different record of its work. Physical retouching may be visible under angled light. A layered Photoshop file retains editing information that a flattened JPEG loses. In a generative result, surviving and invented details appear together in the finished image.
Schemes such as C2PA Content Credentials can attach processing information to a file. Keeping an untouched scan alongside the restored version also gives you something to compare against.
BackInTime works on a digital copy to reduce staining and cracks, improve contrast, and add colour when you choose. Colour added to a monochrome photograph remains an interpretation because the original chemistry did not record it. Keep both versions so your family can see the photograph as it survives and the changes made to it.
To try the process with one family photograph, follow our step-by-step photo restoration guide, from making a digital copy to comparing the result with the original.