 BackInTime
How to Restore Old Photos: A Step-by-Step Guide
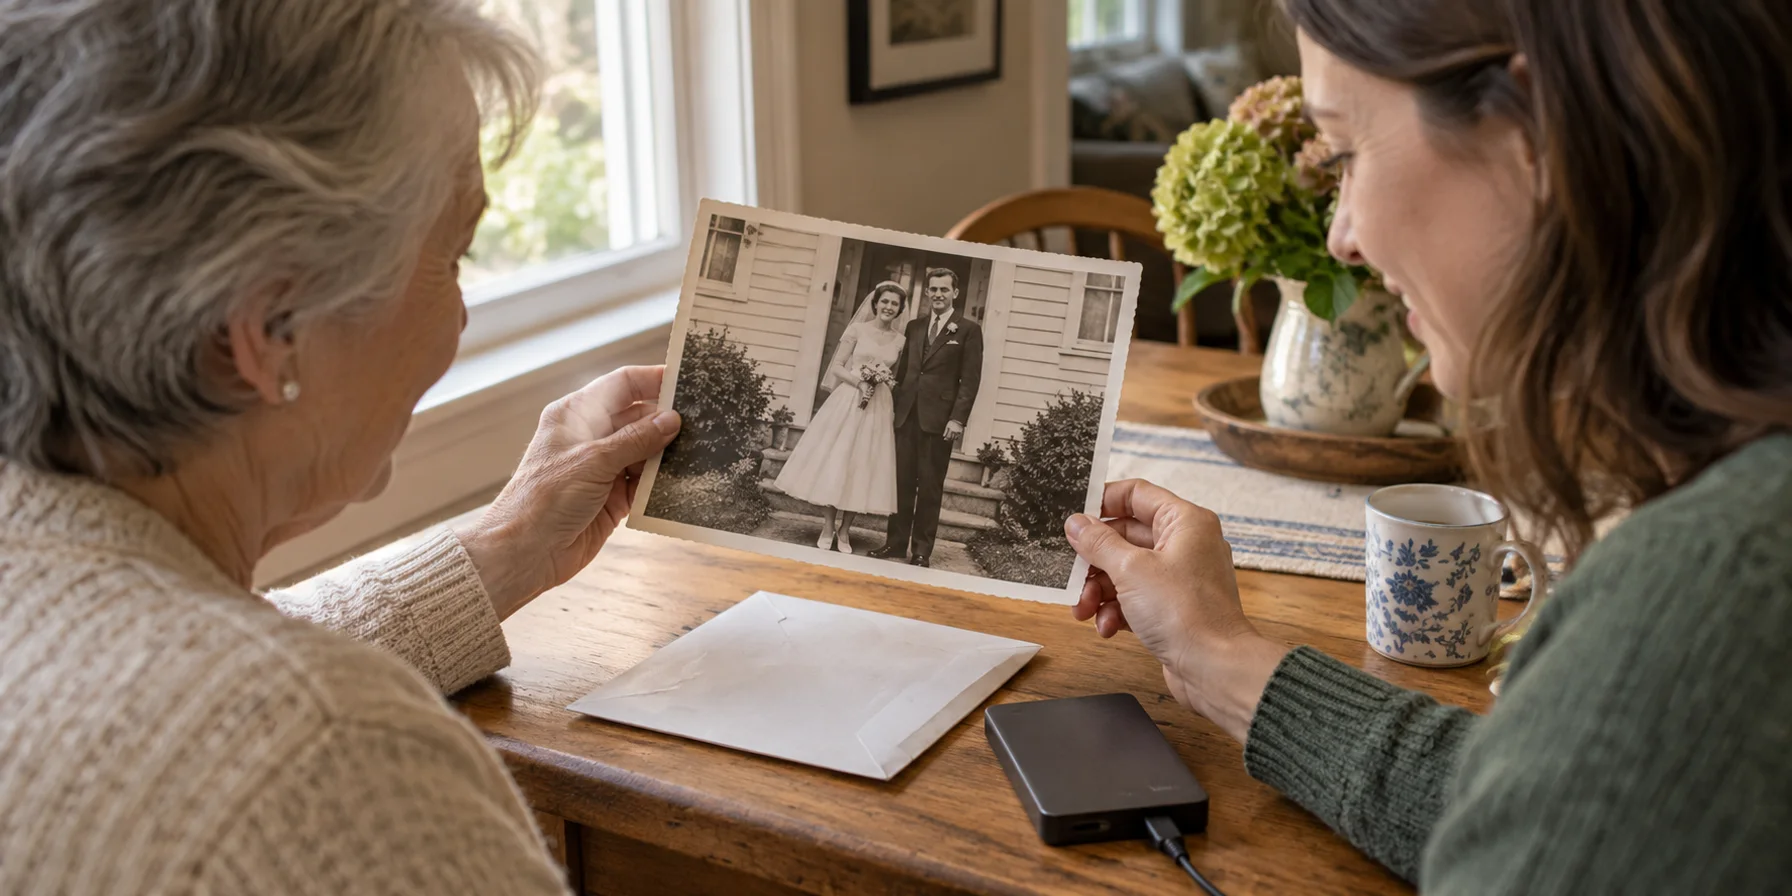
Learning how to restore old photos starts with one picture you would like to see more clearly. Perhaps a scratch runs across a wedding portrait, or a faded snapshot hides the expression you remember. Make a clear digital copy, choose the repairs it needs, compare the result with the original, and save both versions. A phone or scanner and a web browser are enough to begin.
The images are AI-generated editorial illustrations, not photographs restored with BackInTime. Product steps reflect the current web form and published information checked on 12 October 2026.
Make a clear digital copy
Take the print out of its frame only if it comes away easily. If it is stuck to glass, flaking, or brittle, ask a photograph conservator before trying to separate or flatten it. Digital restoration works on a copy; it cannot stabilize damaged paper.
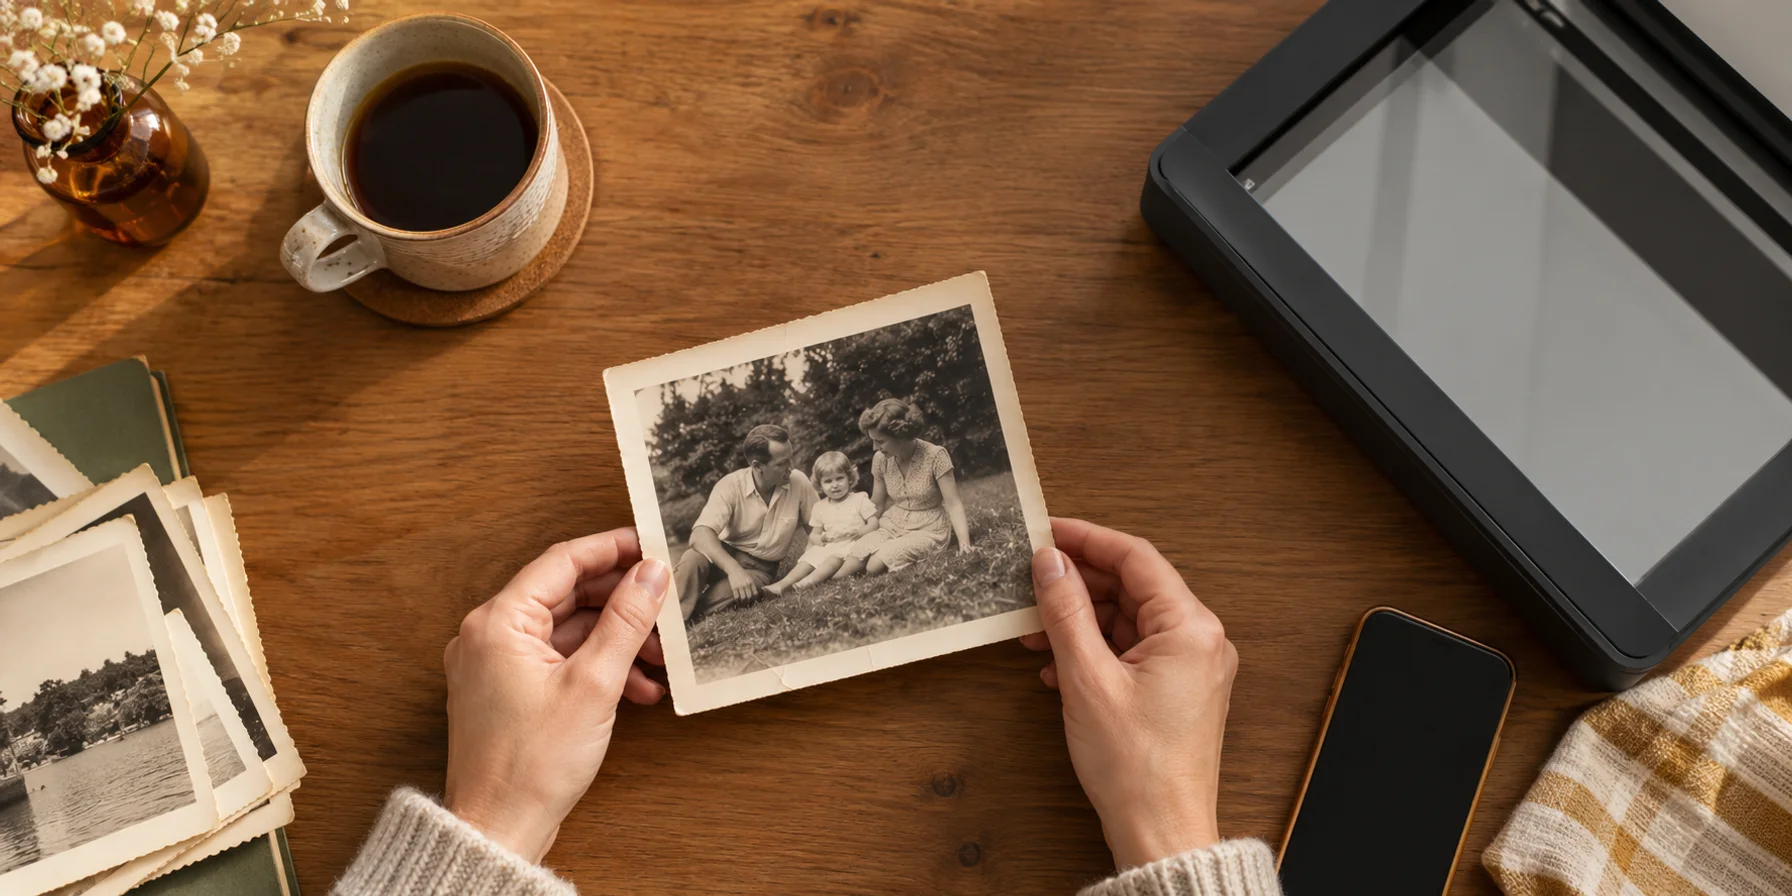
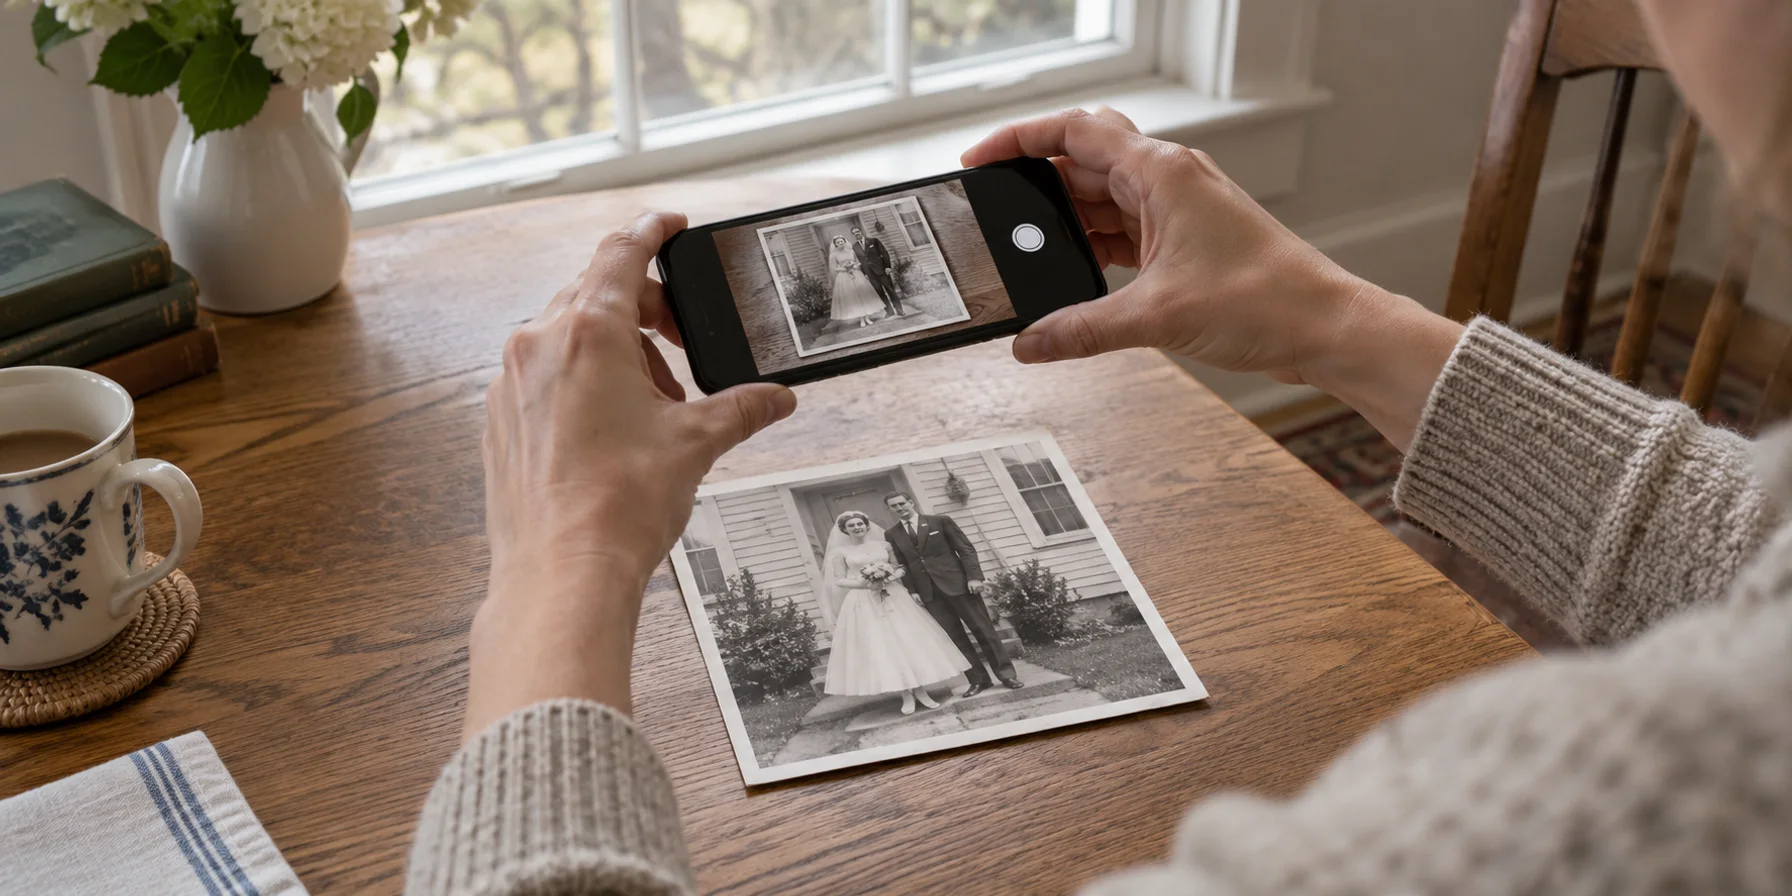
For a loose, flat print, use a flatbed scanner or photograph it with your phone. Place it in even, indirect light, keep the camera parallel to the print, and turn off the flash. Check for reflections across faces. If the surface shines, adjust the lighting or your position and take another photograph. Avoid digital zoom, which cannot add detail to the capture.
Check the file before putting the print away. Enlarge it enough to see whether eyes and clothing are in focus. Include the whole photograph in your first capture, and photograph the back if it has writing. Save an untouched copy before straightening or cropping a working version. A file sent through a messaging app may be compressed; use the original capture when you have it.
The US National Archives advises keeping physical originals after digitization and avoiding automatic-feed scanners for fragile or valuable material. Our guide to yellowing and photo preservation explains how to care for the print after making a copy.
Choose the repairs your photo needs
Look at the damage before choosing settings. A scratch across a wall needs a different kind of attention from a face that was blurred when the picture was taken. Removing a mark may reveal a cleaner-looking area, but generating a sharper face can introduce features that were never recorded.
To begin in BackInTime’s web app:
- Create an account or sign in, open the upload page, and choose your digital copy with Browse Files. You can also drag the file into the upload area.
- Add a title and any details you already know. Select relevant options under Restoration Guidance, such as Scratch & Tear Repair. Leave unrelated changes unselected.
- Review Colorization Style and Custom Instructions before starting. The form defaults to Natural; that describes a color treatment, not a guarantee of the original colors.
- Check your selections, start the restoration, and confirm. The request enters a processing queue. Wait for the completed result before judging the image.
Suppose your photograph is a black-and-white wedding portrait with a crease in the background. A focused instruction could be: “Reduce the crease and improve faded contrast. Keep this photograph black and white. Preserve the faces, clothing, and background.” This is guidance for the AI, so check that the result follows it. The current form has no dedicated keep-black-and-white switch; if unchanged monochrome detail is essential, selective manual editing may suit the photograph better.
Decide whether added color suits your purpose. If you want a colorized version, treat the colors as an interpretation. A family member’s recollection that a dress was blue can guide the result, but the monochrome image alone cannot establish its shade.
On 12 October 2026, BackInTime’s pricing section listed 30 signup credits, with standard restorations and re-restorations each costing 10 credits. Storage has a separate allowance. Check the current terms before processing an album or repeating a job.
Compare faces and details with the original
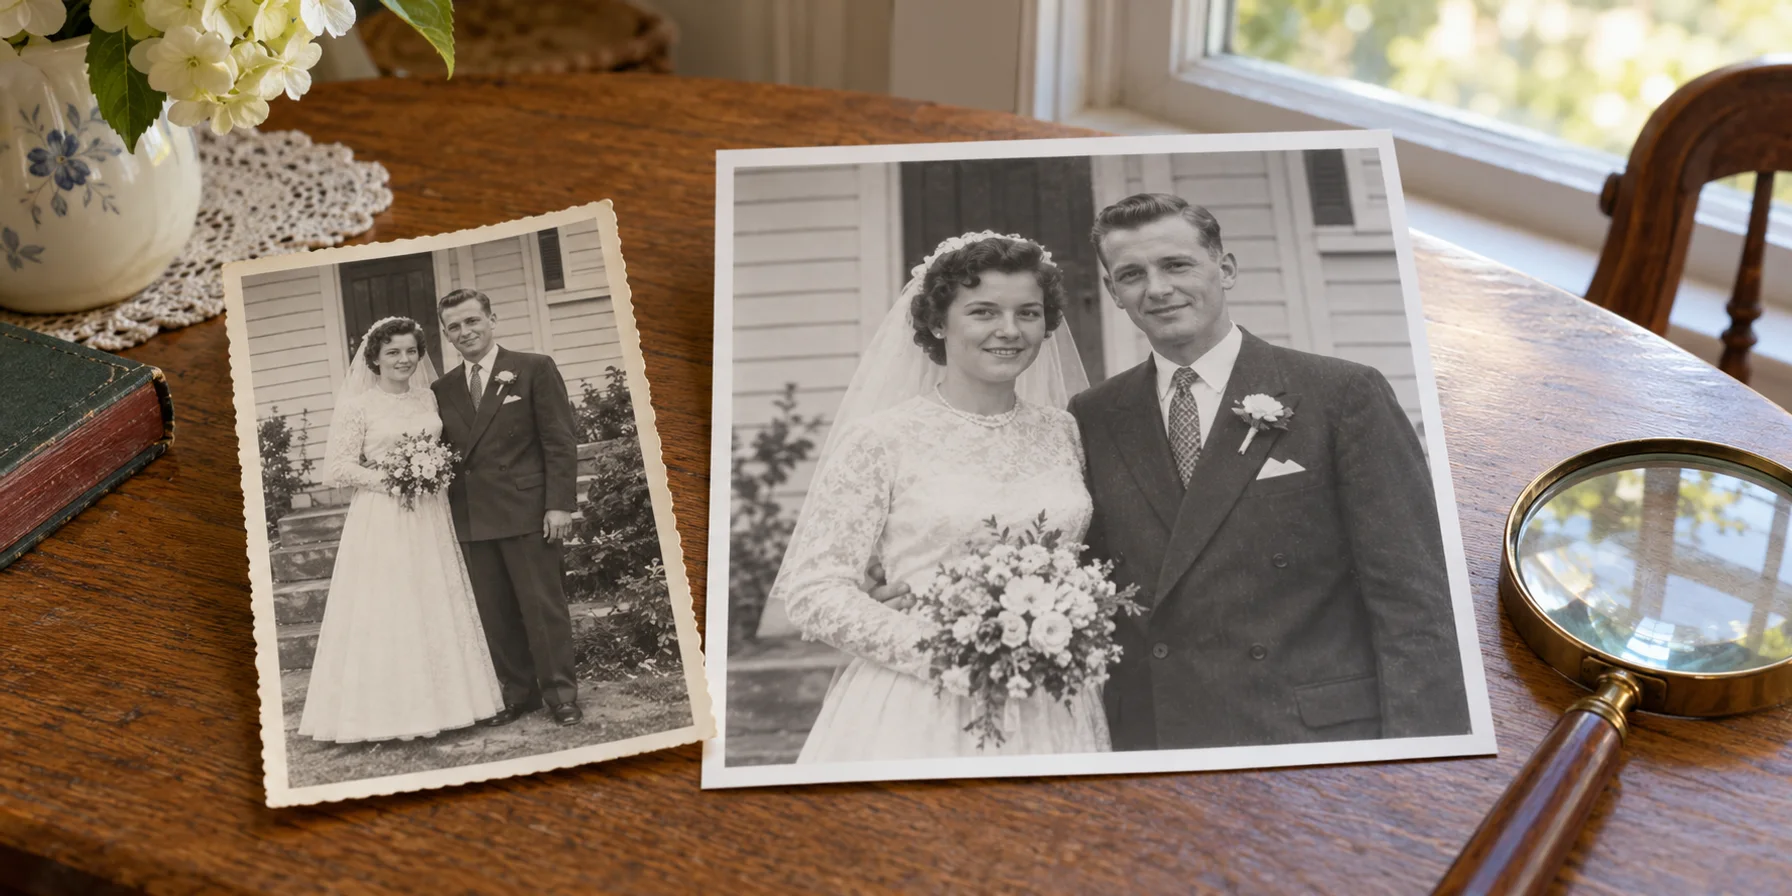
View the original and restored versions at the same size. First look at the whole scene, then enlarge areas you care about. A smoother or sharper picture is not necessarily a more faithful one.
- Do the eyes, mouth, teeth, and hairline still match?
- Has a scratch disappeared without taking part of a necklace, collar, or face with it?
- Are hands, signs, and background objects still recognizable?
- Does the skin retain texture, or look unusually smooth compared with the rest of the picture?
Ask someone who knew the person to look too. They may notice a changed expression that a stranger would miss. For uncertain details, keep a note with the restored version instead of treating the reconstruction as family evidence.
If a repair changes someone’s appearance, keep the original and reconsider the edit. A clearer source scan may help. For local damage, an editor using layers, a healing brush, or a clone tool can work on selected areas; Adobe’s restoration guide explains that approach. Missing facial detail still requires interpretation, even when a person does the retouching. Our restoration methods guide covers when each approach makes sense.
Save the photo and the story behind it
Keep the untouched capture and the version you prefer in clearly named files, such as wedding-original and wedding-restored. Keep a separate copy outside the app as well. If you plan to frame the result, inspect a small test print before paying for a large enlargement; a larger file alone does not prove that reconstructed details are correct.
In BackInTime, a Story gives the photograph somewhere to live with names, places, and memories. Write down who identified the people and mark uncertain dates as approximate. Record added color or reconstructed details too. Invite relatives when you are ready for them to view the photos or contribute what they remember.
Start with the photograph you have been meaning to ask your family about. You can try restoring one photo in BackInTime, compare it with the original, and keep the version you want to share. The name of the person beside the doorway may be the next detail worth recovering.